Showing posts with label Easter. Show all posts

Saturday, March 2, 2013

Easter Centerpiece DIY


This is a fun and easy project to add a little Easter flair to your home!  Millions of us are going to dye Easter eggs this year.  You hard boil the eggs, dye them, then do that awkward wait and wonder game.  Are the eggs are still good to eat or should I throw them away?  Otherwise, you are so dang sick of eating these hard boiled eggs after a while they go in the trash, and you feel guilty for wasting the food.  Not to mention you had to destroy a fun little masterpiece by your little one.  Don't you wish you could save some of the best dyed Easter eggs this year?  Here's a great way for you to do it!

1. Skip the hard boiling, and dye fresh eggs.  Yay!

Here's a little Pinteresty tip: use a whisk.  It really does work great for not so coordinated little guys.  Otherwise dye eggs the way you normally would.


Luke skipped dying eggs and had some lunch.  Still a little small for this job!
2.  Once the eggs have been dyed, use a push pin to make a hole in the top and bottom of the eggs.  Jab a few times until each hole is at least 2-3 mm wide.


3. Blow from one end of the egg into a bowl.  It's amazingly easy to get all of the contents of the egg out.  CAREFUL though!  If the pressure's too high, the egg will shatter.  


Save your eggs for omelets, cooking, baking, egg washing... whatever your little heart desires!


4. (Optional) We painted Mod Podge on the outside of the eggs and sprinkled with glitter for added designs! :)

5. Stuff a dollar store basket with newspaper (I would use green tissue paper or construction paper if I did this again).

6. Arrange the eggs in your basket, then glue in place!  I used wood glue.  Use whatever you have on hand!  A hot glue gun would be great as well.  Make sure you use something that's pretty fast drying so the eggs don't slide around as they're drying.


7. Add Polyurethane to your finished product so it will be shiny and last for years.  You've frozen a memory of dying Easter eggs with your kids in time, and added some festive decoration to your home!


Friday, March 1, 2013

Use Wheatgrass, Skip the Plastic

Wheat grass is great for an Easter-ish centerpiece during Lent too!

It adds much needed green grass when everything outside is bleak and gray!


Guys, I hate plastic Easter grass.  I hate it so much.  Shreds of it get pulled apart and spread all over the house.  This means I will inevitably be pulling it out of the vacuum and baseboards until Christmas.  But, an Easter basket looks so plain and barren without something to fill it in!  So I came up with an idea, and I've since seen it done by others too: wheat grass.

It is T-31 days until Easter.  We are going to plant it, and have a little bed of real grass in our baskets this Easter.  These are my steps and costs.

Supplies:
  • Easter baskets: $1.00 from Target
  • Wheat grass packet: $1.69 at your local plant store
  • 2 plastic bases for pots or planters: $0.14: they come in many sizes and shapes.  You can find them at your local plant store
  • potting soil: around $6 for a 10 qt. bag.  I recommend potting soil specifically for seedlings, you guessed it, at your local plant store.
  • coffee filters
  • scissors
  • shovel


1. Push a hole through the middle center of the bottom of one of the plastic trays.


2. Cut out the bottom of a coffee filter and place that over the hole.  This will prevent dirt from falling through, but not water.  If the water can't drain, the soil can grow mold.


3.  Add potting soil to your desired level.  Make sure it's deep enough for grass roots: about 3 inches.  Then put this plastic container into your other container without the hole.


4.  Pour enough water on the soil that it's damp to touch.  Mix the soil so the water is evenly distributed.  Then tamp down firmly.


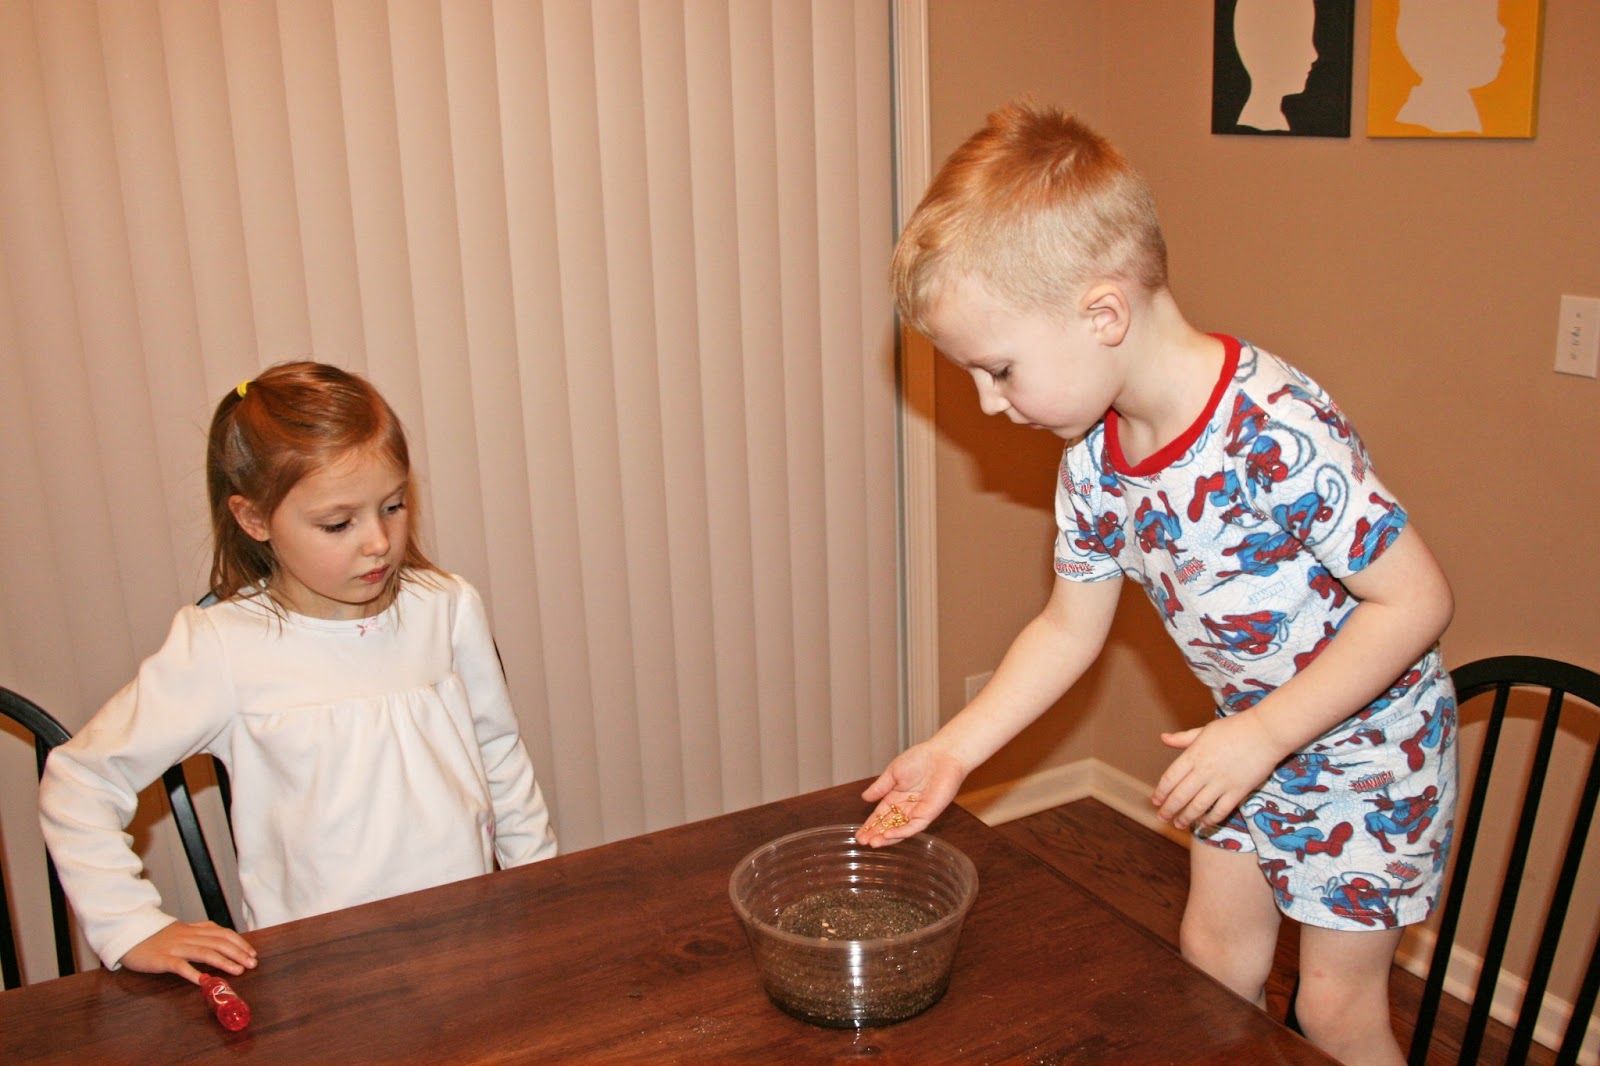
5. Spread the seeds over the top of the soil evenly.   6. Push the seeds down about 1/8 inch with your fingers.


Now, wait for your grass to sprout!  It should happen in 3-5 days.


Seeds on a tray on my nightstand.


The oncology (cancer) RN in me can't help but share the health benefits of wheatgrass too!  I could have used any type of grass seed.  I thought about the blue grass that grows in our yard.  I chose wheatgrass because it is fast growing and soft.  Although I knew wheatgrass was healthy, I wasn't sure how.  I was pleasantly surprised!


According to the Journal of Clinical Oncology, wheatgrass is an alternative to blood transfusion in terminally ill cancer patients.  Wheatgrass is a complete protein with 30 enzymes, vitamins and minerals.  Its juice is 70% chlorophyll.  Chlorophyll is sort of like the blood in our bodies for plants, and has a similar structure to hemoglobin, the oxygen carrying component of blood.  An article from Mayo Clinic claims that eating wheat grass may fight cancer, anemia, diabetes, constipation, infections, skin conditions, ulcerative colitis, and joint pain. 


Doesn't it look like spring outside?? ;-)
Hopefully it will once Easter is here.
Well, I was fascinated by this!  Like a lot of child bearing age women, I am always borderline anemic (low hemoglobin) so this sounds fantastic!  Wheat grass is supposed to be very easy and fast to grow, sprouting in 3-5 days.  I am going to grow it on my nightstand in my bedroom- out of the way of toddler fingers, and in front of a window!  I like the idea of being able to go up and clip some wheat grass and put it in a smoothie, or clip it into soup or salad.  I've eaten wheat grass before, and frankly it tastes like grass from the backyard.  So, if you're like me you're not eating it for the flavor, but it's very tolerable.  Some people also eat the seeds, commonly called winter berries for similar health benefits.

Day 3
Day 6

Day 6
Day 9
When I first planted the seeds on March 1, the plant store only had one packet of wheatgrass seeds left, so the seeds were a little sparse.  Now, we have more seeds, so I planted them on March 9. 

I also found these Easter baskets at Target for $1!  They are the perfect size for my plastic!  I just cut off about 2 inches from the plastic so they would nestle in the basket and give it some depth.  
Pink and purple plastic cut.  Blue and green baskets' plastic not cut yet.
Day 15

Day 15
I am excited to see our grass become a carpet of green! (Just in time for St. Patrick's Day!) I will keep you in the loop on the progress of the seeds!  Check back for updates!